Four-Faith TCP2COM manual
Four-Faith TCP2COM manual
1 Install .net framework 2.0 first
2.make
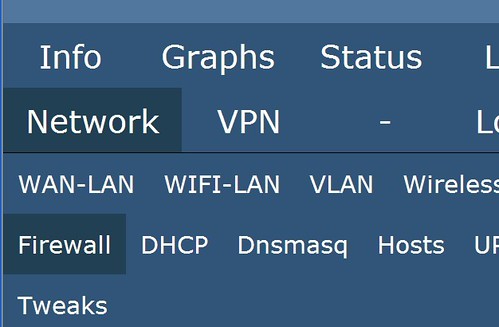
port forwarding :below it’s our router, Set Router configuration on
you PC, Log in Router configuration interface as below and choose Network---
Firewall.
3.
Find the local PC’s IP like 192.168.8.198 and set port forwarding :edit
Destination Ports:5002 and Forward to:192.168.8.198,set Port:5002 as below,then
press “Save” button.
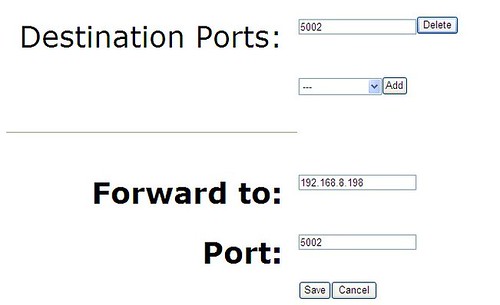
After
setting the local PC’s port forwarding ,you can find it as below.
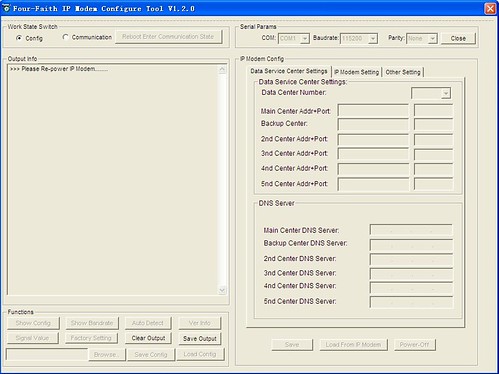
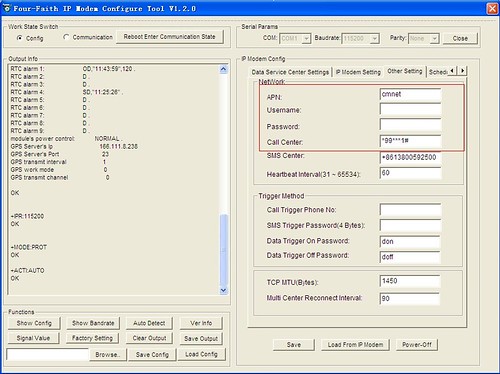
4. Open IP Modem
Configure Tool 
5.Choose
page “Data Service Center Settings”,Set Main Center Addr+Port and Backup Center
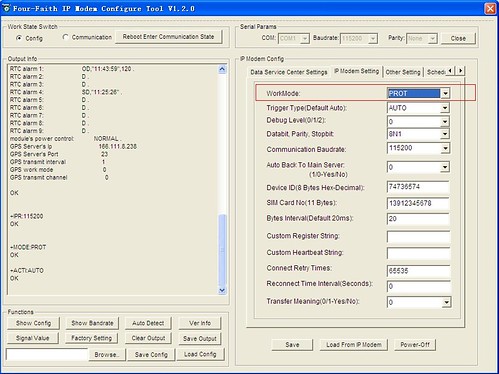
6.Choose
page “IP Modem Setting” ,Set WorkMode “PROT”
as below.
7.Choose
page “Other Setting” ,Set APN,Username,
Password and Call Center,Then press “Save” button to set configuration。
8.Click
radio “Communication” and Press “Reboot
Enter Communication
State
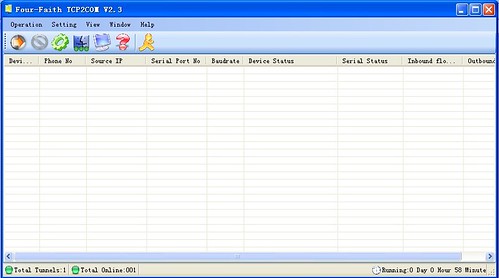
9.
Close IP Modem Configure Tool and Open Four-Faith TCP2COM as below.
10. Click menu ‘setting’ ->’setting’ , set
TCP/IP port as below
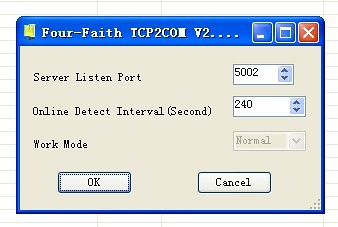
Please input ‘Server
Listen Port
11. Click menu ‘Operation’->’Add virtual
Port’, Select Virtual Serial Port No
and click OK
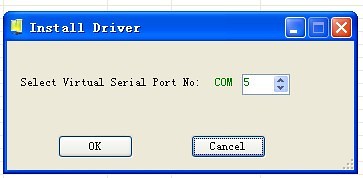
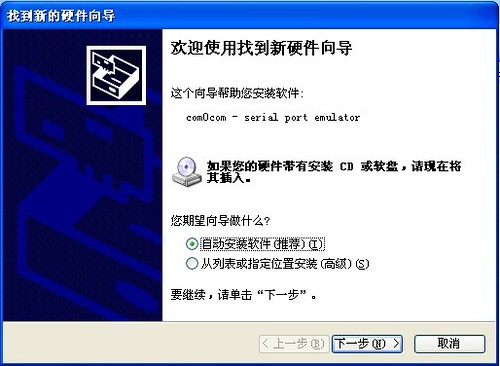
Select
‘Auto Install Software’ and click ‘next’ as below.
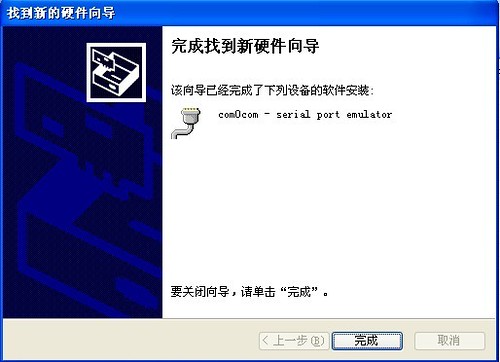
Click ‘Finish’ to add virtual port,this steps will repeat twice。
12.Click menu
‘windows’->tunnel manager to add tunnel
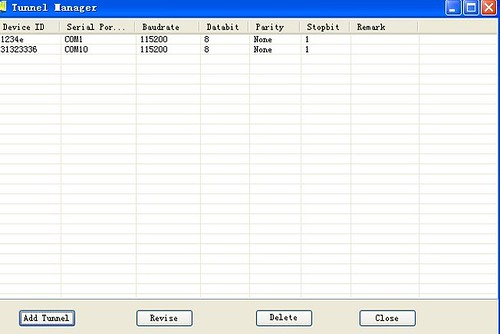
Click ‘add tunnel’
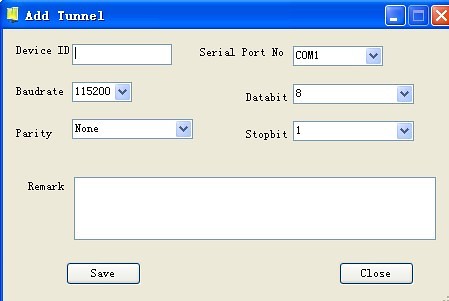
Input device id, and serial port No and
others. Click ‘save’;
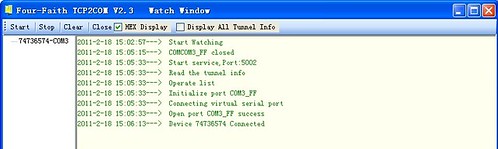
13. start server
Please click the toolbar ‘start server’ 
If connected ,it will show as below.

14.monitor
Please click the toolbar ‘monitor’ 
It will show the monitor information as below
Then you can use serial tools to send and receive data.
End.
